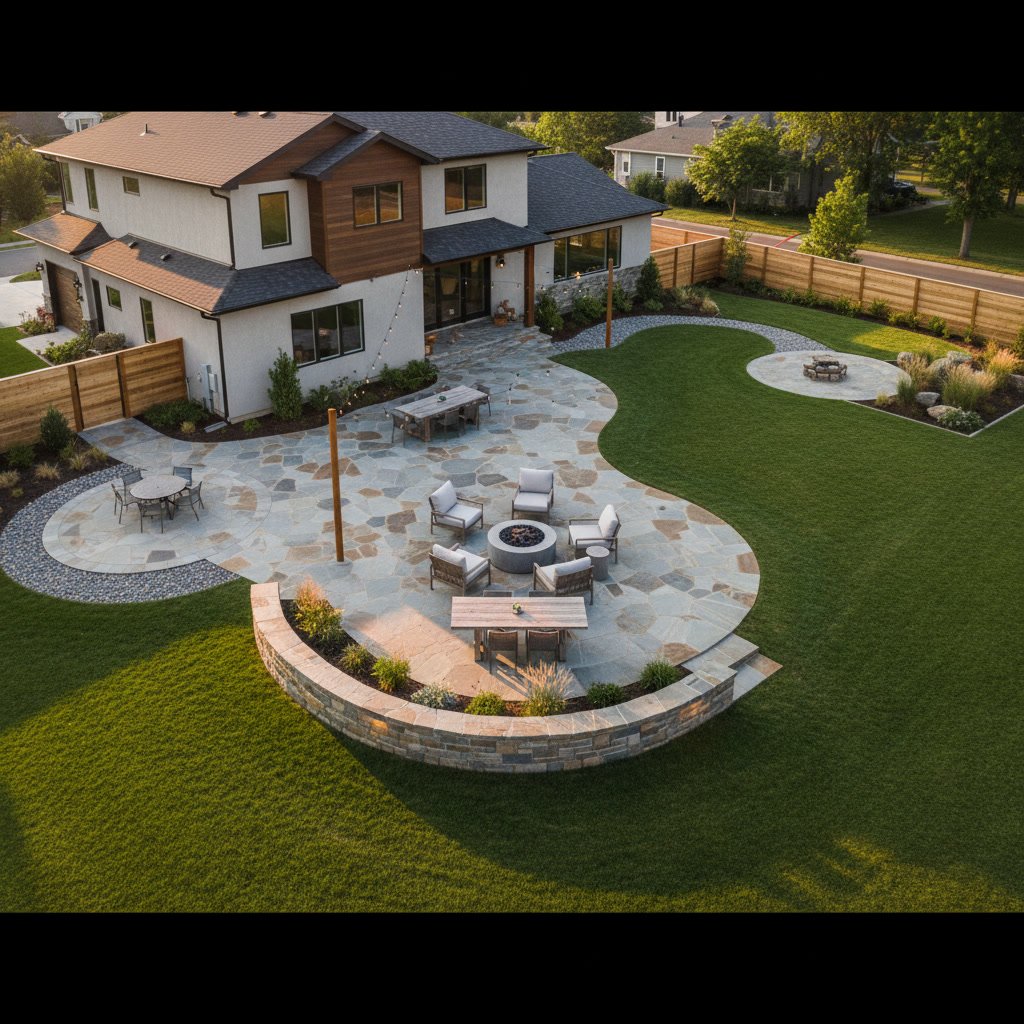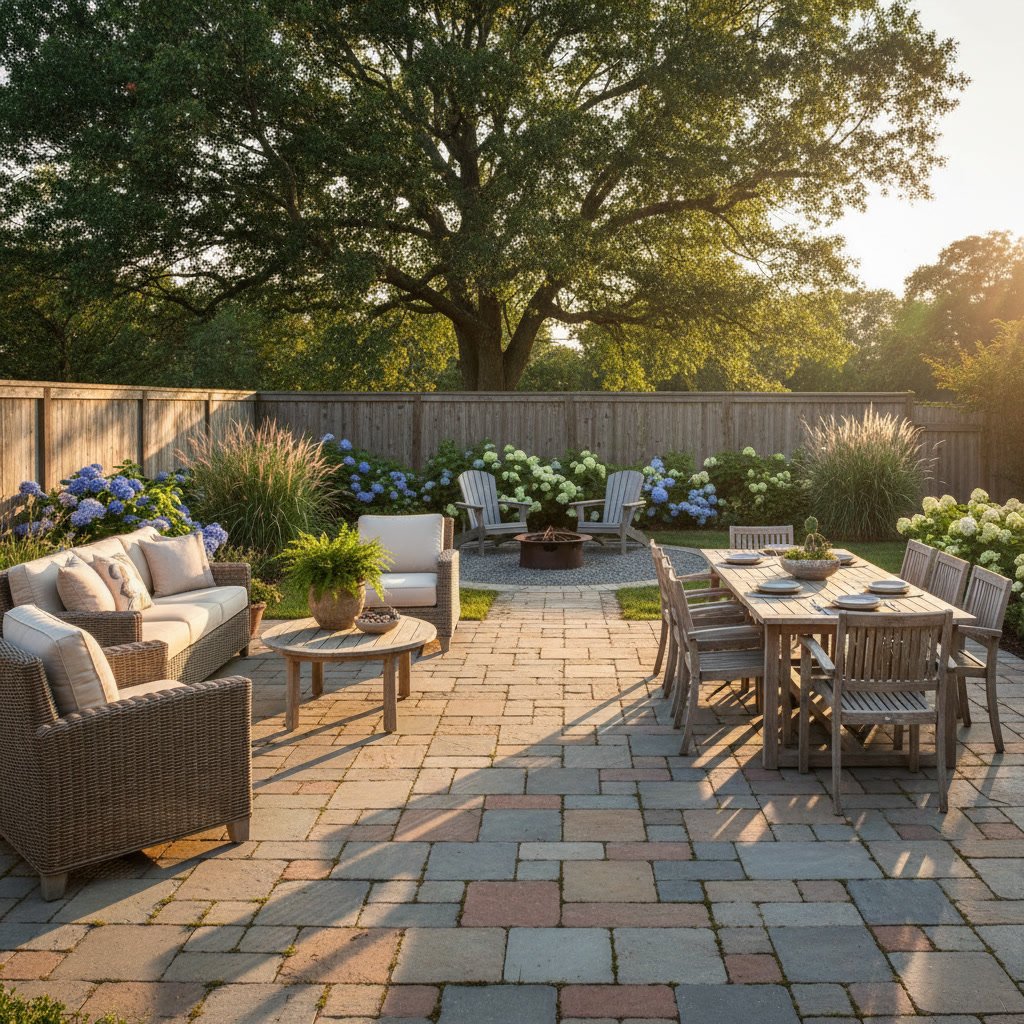
A properly sealed patio protects against weather damage, stains, and wear while extending its lifespan by years. The key to effective sealing lies in thorough surface preparation. To prepare patio for sealing correctly, you must clean all contaminants, repair damage, allow adequate drying time, and apply the right products in proper weather conditions.
North Texas homeowners invest thousands in beautiful outdoor living spaces, yet many skip the critical preparation steps that determine whether a sealant lasts two years or ten. The difference between a failed sealing job and one that protects your investment comes down to what happens before you ever open the sealant can.
Why Surface Preparation Determines Sealant Performance
Sealants bond at a molecular level with patio materials. When dirt, oils, previous coatings, or moisture occupy the microscopic pores in concrete, pavers, or stone, the new sealant cannot penetrate. Instead, it sits on top as a temporary film that peels within months.
Professional installers know that 80% of sealant failures trace back to inadequate surface prep, not product quality. A $30 can of premium sealant performs worse than a $15 option when applied to an improperly prepared surface. The patio material must be clean to the substrate level, structurally sound, and completely dry.
Understanding Your Patio Material Before You Begin
Different materials require different preparation approaches. Concrete patios need acid etching or grinding to open the pore structure. Natural stone like flagstone or travertine demands pH-neutral cleaners that won’t damage the mineral composition. Pavers made from concrete or clay each respond differently to pressure washing intensities.
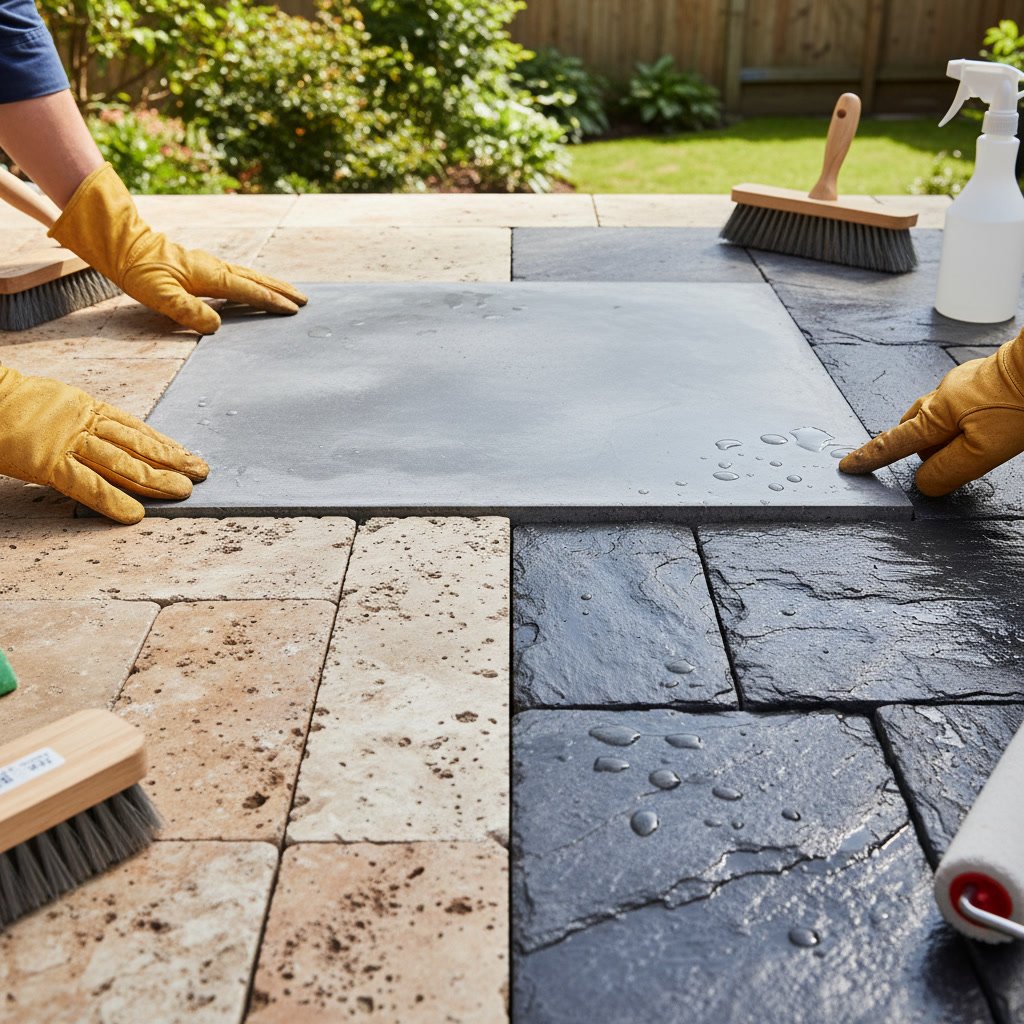
Identifying your exact material determines which cleaning agents, tools, and repair methods you’ll need. If you’re uncertain about your patio composition, examining the original installation records or consulting with a patio construction specialist prevents costly mistakes. Many homeowners who chose their patio material years ago can refresh their memory by reviewing factors covered in guides about selecting the right patio material for different applications.
Deep Cleaning Every Square Inch
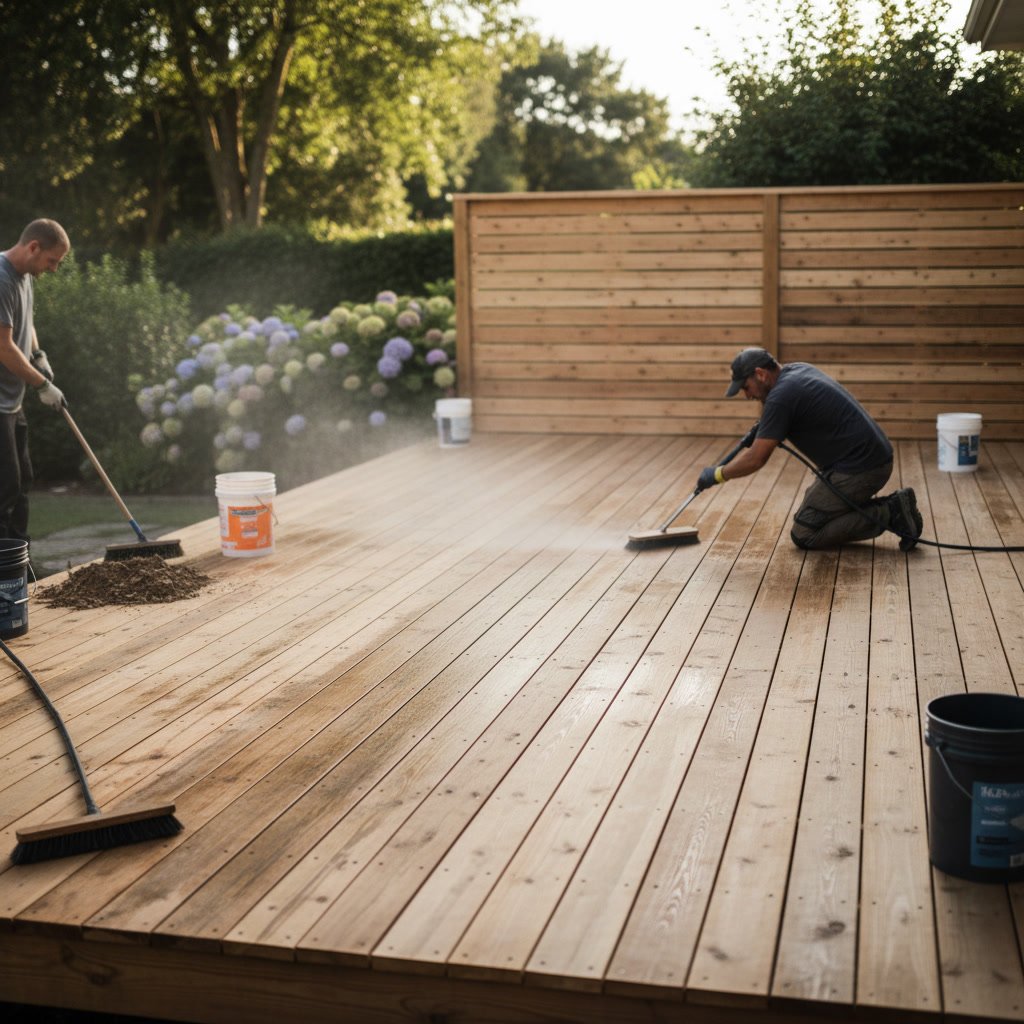
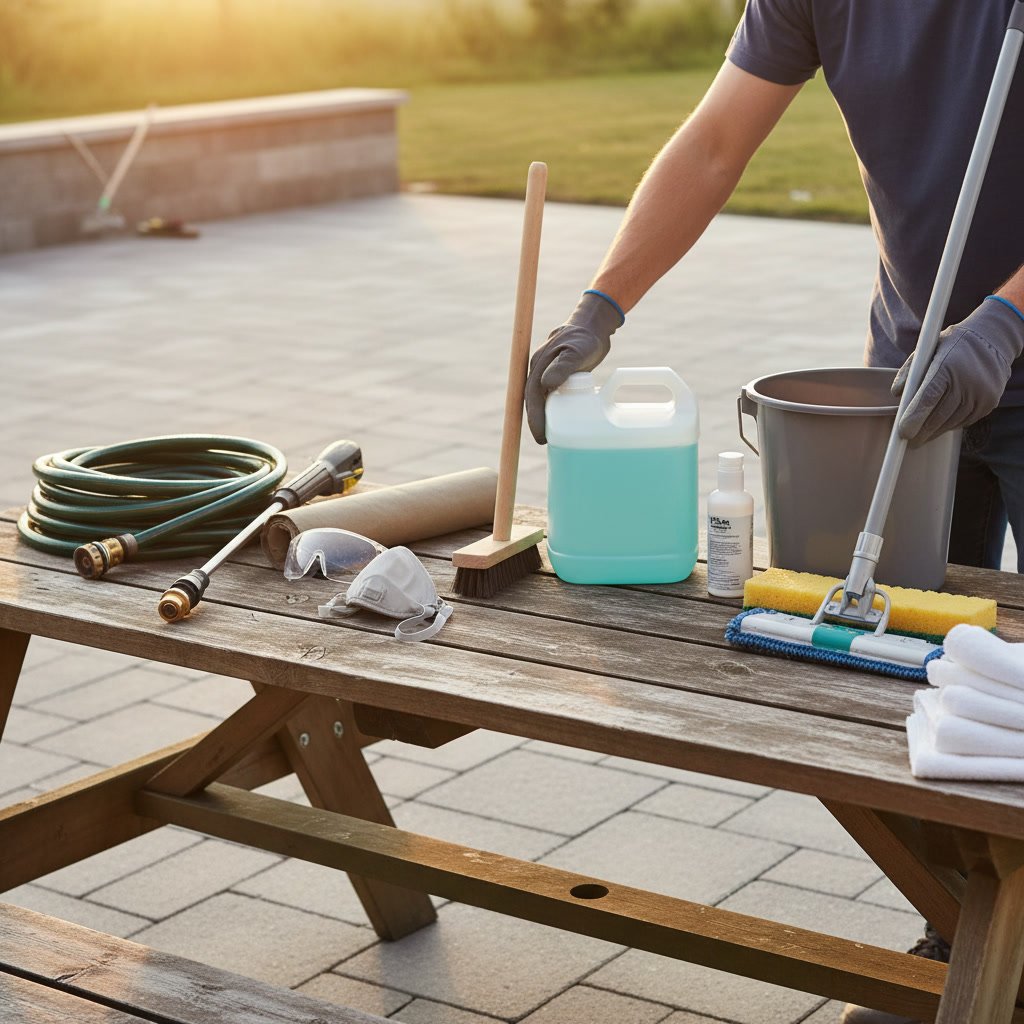
Begin with a thorough sweep to remove loose debris, leaves, and dirt. A standard garden hose rinse won’t suffice. You need a pressure washer delivering 3,000 PSI for concrete or 1,500 to 2,000 PSI for softer materials like certain pavers or sandstone.
Hold the wand 12 to 18 inches from the surface, moving in consistent overlapping passes. Closer positioning or staying in one spot etches the material. For oil stains, apply a degreaser designed for outdoor masonry, let it dwell for 15 minutes, then pressure wash again.
Efflorescence, the white crystalline deposits that appear on concrete and masonry, requires an acid-based cleaner. Mix muriatic acid at a 10:1 water-to-acid ratio, apply with a pump sprayer, scrub with a stiff brush, and rinse thoroughly. Always add acid to water, never water to acid, and wear protective equipment.
Repairing Cracks and Damaged Areas in Allen Properties
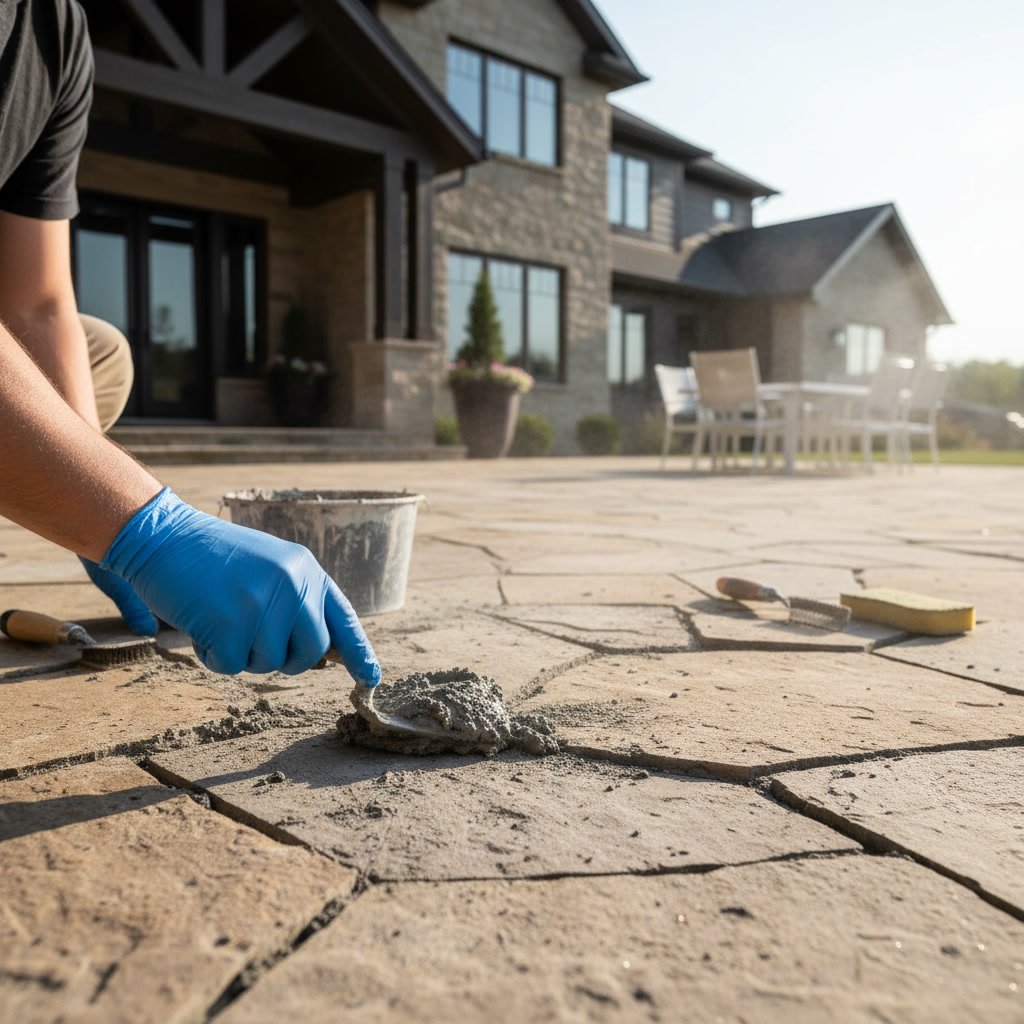
North Texas soil conditions cause significant foundation movement, which translates to patio settling and cracking. Before sealing, fill all cracks wider than one-eighth inch. Hairline cracks below that threshold can often be sealed over, but anything larger allows water infiltration that undermines the sealant.
For concrete patios, use a flexible polyurethane or epoxy crack filler rated for exterior use and temperature fluctuation. Clean the crack with a wire brush, blow out dust with compressed air, and apply filler slightly above the surface level. Once cured, grind or sand flush.
Paver patios with settling issues need releveling before sealing. Remove affected pavers, add or remove sand base as needed, compact, and reinstall. Sealing over unlevel or loose pavers locks in the problem and makes future repairs more difficult. Capital D LLC has worked on hundreds of properties across the region where proper foundation and base preparation proved essential to long-term patio performance.
Testing and Neutralizing pH Levels
After cleaning with acids or degreasers, the patio surface chemistry must return to neutral. Residual acids prevent proper sealant adhesion and can chemically react with certain sealant types. Purchase pH test strips from a pool supply or hardware store.
Rinse the patio thoroughly, let a small area dry, then dampen it with distilled water and test. You want a reading between 6.5 and 7.5. If the surface tests acidic (below 6.5), apply a baking soda solution (one pound per five gallons of water), scrub, and rinse. Retest until neutral.
This step takes 30 minutes but prevents sealant delamination that won’t appear until months later when the damage is irreversible.
Allowing Proper Drying Time
Moisture trapped beneath a sealant creates hazing, bubbling, and premature failure. Concrete and masonry are porous and hold water deep within the material. Surface dryness means nothing. After cleaning, you need a minimum of 24 to 48 hours of dry weather with temperatures above 50 degrees and below 90 degrees.
Humidity matters as much as rain. In North Texas spring and fall, morning dew can re-wet a patio overnight. The professional standard is 72 hours of dry conditions for concrete patios and 48 hours for pavers with sand joints.
To test for subsurface moisture, tape a two-foot square of plastic sheeting to the patio with all edges sealed. After 24 hours, check for condensation on the plastic’s underside or darkening of the surface beneath. Either indicates the patio is still too wet. This simple test prevents the most common sealing mistake homeowners make.
Step by Step Preparation Checklist
Following a systematic approach ensures nothing gets missed. Complete each step before moving to the next.
Day One: Sweep and remove all furniture, planters, and debris. Inspect for damage and make a repair list. Pressure wash the entire surface, working from the building outward to direct water away from the foundation. Apply specialized cleaners for oil, rust, or efflorescence as needed.
Day Two: Test pH levels and neutralize if necessary. Begin crack and damage repairs using appropriate fillers and techniques for your material. For projects requiring extensive structural carpentry or support work, address those needs before sealing.
Days Three through Five: Allow complete drying. Resist the urge to rush this step. Check weather forecasts and postpone if rain threatens. Perform the plastic sheet moisture test.
Day Six: Do a final inspection. Sweep again to remove any dust from repairs. Mask off areas you don’t want sealed, including adjacent painted surfaces, siding, or interior flooring if the patio connects to indoor spaces. Your surface is now ready for sealant application.
Choosing the Right Sealant Type
Penetrating sealers soak into the material and provide invisible protection without changing appearance. They’re ideal for natural stone and pavers where you want to preserve the original look. These typically last three to five years and allow the surface to breathe, preventing moisture trap issues.
Film-forming sealers create a protective layer on top of the material. They enhance color, provide a glossy or matte finish, and offer stronger stain resistance. Acrylic-based options work well for decorative concrete. Polyurethane and epoxy versions deliver maximum durability but require more careful application and show wear patterns more obviously.
For North Texas, UV resistance matters. The intense summer sun degrades lower-quality sealants within one season. Look for products specifically rated for high-UV environments. Water-based sealants have improved dramatically and now rival solvent-based products in durability while offering easier cleanup and lower odor.
Weather Conditions for Successful Application
Apply sealant when temperatures will remain between 50 and 85 degrees for 24 hours after application. Morning application is ideal because it gives the product most of the day to cure before evening temperature drops and dew formation.
Avoid sealing in direct intense sunlight, which causes solvents to evaporate too quickly and prevents proper penetration. Light cloud cover is actually optimal. Wind above 10 mph creates dust that can land on wet sealant, so check forecasts for calm conditions.
Never apply sealant if rain is forecast within 24 hours. Most products need 4 to 6 hours before they can tolerate light moisture, but full curing takes days. A rainstorm six hours after application can wash away the entire investment.
Common Preparation Mistakes That Cause Failure
Skipping the neutralization step after acid cleaning ranks as the top avoidable error. The second is applying sealant over dirt or dust that settled after initial cleaning. A light breeze deposits a surprising amount of particulate in just hours.
Using the wrong pressure washer intensity damages softer materials and creates a rough texture that shows through the sealant. Conversely, inadequate cleaning leaves a contamination layer. Finding the right balance requires understanding your specific material, much like the preparation involved in fence staining projects where surface condition determines longevity.
Sealing too soon after installation is another frequent problem. New concrete needs 28 days to fully cure before sealing. New pavers need at least two weeks for joint sand to settle and compact. Impatience here guarantees problems.
Protecting Your Investment for Years Ahead
Proper preparation transforms sealing from a cosmetic treatment into genuine protection. A well-sealed patio resists freeze-thaw damage, prevents weed growth in paver joints, stops staining from spills and leaves, and maintains its appearance with minimal maintenance.
The time invested in preparation, typically two to four days depending on repairs needed, extends sealant life from two years to seven or more. That difference means resealing twice per decade instead of five times, saving both money and effort while keeping your outdoor space looking its best.
Maintenance after sealing remains important. Sweep regularly, clean spills promptly, and avoid harsh chemicals. Most sealants benefit from a light reapplication every few years as a top coat rather than waiting for complete failure.
Expert Help Makes the Difference
Surface preparation requires the right equipment, products, and experience to identify potential problems before they compromise your results. The steps outlined here work for motivated DIY homeowners, but the process is physically demanding and unforgiving of mistakes.
Capital D LLC has prepared and sealed patios across the region since 2014, developing techniques specific to North Texas climate and soil conditions. Our team handles everything from initial cleaning and repairs through final sealant application, ensuring every step meets professional standards.
If you want your patio properly prepared and sealed for maximum weather protection and longevity, reach out to our team at +19722079516. We’ll assess your specific patio material and condition, recommend the best approach, and deliver results that protect your investment for years to come.